
Paver restoration might sound like a daunting task, but it doesn’t have to be! If you’re looking to revive an old patio, walkway, or driveway, understanding the right materials and techniques can make all the difference. Not only does proper restoration enhance the aesthetic appeal of your outdoor spaces, but it also extends the life of your pavers, saving you money in the long run. With so many options available, choosing the best materials for your paver project can be overwhelming, but fear not! This guide will walk you through everything from essential sand types to other innovative materials that can breathe new life into tired surfaces. Let’s dive in!
The best materials for paver restoration include high-quality metal and ceramic, which are essential for repairing and maintaining the durability of the pavers. Additionally, using chiral crystals can enhance the repair process by providing a versatile resource for topping off repairs and ensuring longevity in structural integrity.

First and foremost, high-quality paver sand is crucial for creating a stable base beneath your pavers. This isn’t just any sand; rather, you want something like masonry or sharp sand, which has a finer texture perfect for filling in gaps and ensuring a snug fit between pavers. The beauty of using such quality sand lies in its ability to prevent shifting over time, thereby enhancing the overall stability of your paver surface. Without this critical layer, you're likely to encounter problems down the line, such as uneven surfaces or dislodged pavers that can turn a beautiful pathway into a hazardous one.
Moving on to polymeric sand, this innovative material serves an important role in keeping your pavers looking sharp. Unlike regular sand, polymeric sand is a mix of fine grains combined with special additives that help it bond when it gets wet.
This hardening property does wonders in deterring weed growth, acting as both a physical barrier and a sealant. Additionally, it significantly reduces erosion caused by water runoff or wind, meaning you don’t have to worry about re-sanding your joints frequently, saving you both time and money.
When considering replenishing materials for your restoration work, concrete sealers cannot be overlooked. They offer essential protection against stains and wear due to environmental factors. Depending on your specific needs, you might opt for water-based sealers, known for being user-friendly and environmentally safer with a lifespan of 2-3 years, or solvent-based sealers that penetrate deeper and provide greater durability lasting between 3-5 years. Check out what works best based on your location's climate and the level of traffic your paved areas experience.
Here’s a quick look at the pros and cons:
| Type | Benefits | Average Lifespan |
|---|---|---|
| Water-Based | Easy application; lower toxicity | 2-3 years |
| Solvent-Based | High durability; deeper penetration | 3-5 years |
Unfortunately, even the most well-maintained pavers can become damaged over time—whether from extreme weather conditions or heavy usage. This is where having replacement pavers on hand becomes invaluable. It is advisable to keep some extra pavers of the same type and color for emergencies. Quick access to these materials can save you time when addressing unsightly cracks or broken pieces that not only affect appearance but could also lead to safety hazards if left unchecked.
Next, let's explore the techniques required for effectively preparing these surfaces, laying the groundwork for successful restoration.
To achieve a flawless paver restoration, proper surface preparation is crucial. Think of it as laying a strong foundation before building a house. If you don’t take the time to prep the surface, the materials may not adhere correctly, and you might end up with uneven or unsatisfactory results. Here’s how to ensure your surface is perfectly primed for restoration.
Start by getting rid of all that dirt, moss, and those pesky weeds that seem to grow overnight. Utilizing a high-pressure washer with at least 3000 PSI is ideal for blasting away debris while saving you the backache of manual scrubbing. However, if you prefer a more hands-on approach, a stiff-bristle brush can also do wonders when combined with a biodegradable cleaning solution like a vinegar-water mix. This not only ensures your pavers look fresh but also maintains an eco-friendly approach.
It’s essential to allow the cleaned surface to dry thoroughly for at least 24 hours before moving forward with repairs.
Once your pavers are squeaky clean, it's time to focus on leveling the ground beneath them. An uneven base can lead to shifting pavers and unsightly gaps in your installation. For this task, you’ll want to use a tamper to compact the soil firmly — think of it as giving it a little TLC so that it can support your beautiful pavers seamlessly. You want to create a solid foundation that will stand the test of time.
When compacting soil, it’s helpful to check with a level between tamping sessions. Adjustments may need to be made in some areas to ensure that everything is even from edge to edge.
Before diving into new installations and repairs, inspect any old joint sand between the pavers. If it's failing or crumbling, this sand needs to be removed using a chisel or screwdriver. It’s crucial because old, compromised materials can prevent new polymeric sand from bonding correctly with your pavers. Clean joints help secure the integrity of your repair work and contribute significantly to its longevity.
With a clean surface ready and ground prepared, you're now set to tackle those important details that will help enhance durability in your restored pavement.
Addressing cracks and filling joints isn't just a cosmetic procedure; it's essential for maintaining the longevity of your pavers. Environmental factors such as rain, extreme temperatures, and fluctuations can lead to cracks. If left untreated, these cracks compromise the entire structure, leading to costly repairs. Taking a proactive approach now will save you headaches—and money—later on.
The first step in tackling paver maintenance is effectively repairing those unsightly cracks.
To fix larger cracks, opt for a high-quality concrete patch. This material bonds well and helps restore stability to the cracked area. For smaller fissures, a slurry mix made from paver sand serves as a fantastic alternative. Imagine mixing the same type of sand used in the joints with a bit of water—it creates a thick paste that fills gaps effectively. One product I've had great success with is Envirobond’s joint stabilizing sand. Not only does it fill those small cracks perfectly, but it also works seamlessly with existing materials to maintain cohesion!
Pro tip: Always clean the crack thoroughly before applying any filler. Using a wire brush can help remove loose debris and ensure that your patch adheres properly.
Once you've tackled the cracks, it’s time to focus on filling the joints between your pavers.
Start by removing any old joint sand. This task can be tedious; however, it’s essential for a proper seal—think of it as preparing a canvas before painting. After clearing out the old material, sweep in new polymeric sand to replace it. When applying this new material, use a broom liberally to ensure every crevice is filled completely.
Here's an insider secret: Wetting the surface before completing this step activates the binding agents within polymeric sand, enhancing its effectiveness against water and erosion over time.
As you continue your maintenance journey, allow these materials ample time to set before putting your pavers back into use. This patience pays off in how well you preserve your outdoor surfaces and enhance their aesthetic appeal.
Now that you've addressed the structural integrity and joint aesthetics of your pavers, let's shift our attention toward further enhancing their visual charm.

Enhancing the visual appeal of your paver surface can be achieved through a variety of products that add color, texture, and protection. When choosing enhancements, think about how they will improve both the beauty and longevity of your paver installation. A well-chosen product can elevate the appearance and functionality of your paved areas.
These products penetrate the paver surface to bring out natural colors, making your pavers look vibrant and new. Such enhancements not only deepen hues but also offer resistance against fading—an essential factor for maintaining aesthetic appeal throughout all seasons. For homeowners looking for easy application with lasting results, products like Color Boost or SealThane are popular choices. These formulas are designed to rejuvenate the color in your pavers, remedying any dullness due to weather or wear while providing a protective layer at the same time.
When applying a color enhancer, ensure that the surface is clean and dry; this helps achieve the best bond and finish, allowing vibrant colors to shine every time you step outside.
Now, let’s talk about sealers. Applying a sealer protects pavers while enhancing their color and providing a glossy finish. Think of sealers as a protective blanket for your flooring; they guard against stains from spills, oil drips, and dirt accumulation that can tarnish even the finest materials over time.
Sealers help shield against weather damage, increasing defense against erosion caused by rain or extreme sun exposure. Choosing a quality sealer is critical because it significantly impacts both durability and aesthetics. Imagine walking across beautifully sealed pavers that maintain their color and sheen even after years of weathering—enticing indeed.
Data suggests that using a good sealer can reduce fading from UV rays significantly—by as much as 50%—ensuring your investment remains visually stunning year after year.
To maintain that visual appeal, regular upkeep is essential. Strategies for sustaining your paver surface’s pristine condition involve more than just occasional enhancements. Let's explore practices that contribute to its long-term vitality.
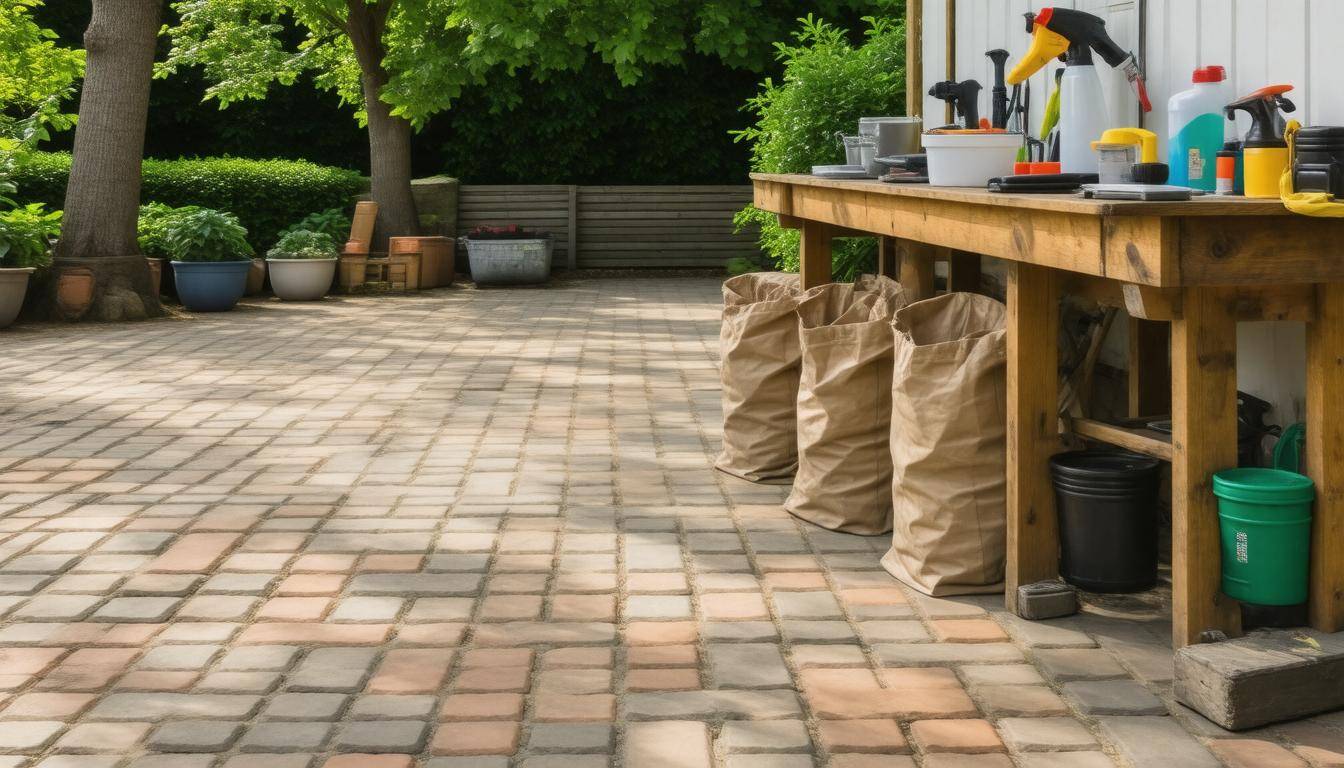
Regular maintenance practices are essential to preserving both the appearance and structural integrity of your paver surface.
One of the simplest yet most effective ways to keep your pavers looking sharp is through routine cleaning. Engaging in straightforward tasks such as sweeping away debris and using a garden hose to wash the pavers can significantly reduce the buildup of dirt and grime. Neglecting this can lead to discoloration, which makes it harder for your pavers to maintain their original charm. A gentle rinse now and then revitalizes their look and helps prevent stains from forming.
Beyond just cleaning, you'll want to look at what's happening within the joints of your pavers too.
Over time, the sand that fills the joints between each paver can wash away, compromising their stability. This is where reapplying joint sand comes into play. I recommend using polymeric sand—a special blend that hardens when wet—every 2-3 years. Not only does it reinforce the joint structure, but it also helps fend off pesky weeds that could disrupt that beautiful setup you've created.
After ensuring your joints are packed tight, the next step is to guard against the elements with a sealant.
When it comes to sealing your pavers, don't overlook its importance for long-term durability. Depending on the type of sealer you’ve opted for, reapplication should be considered every 2-5 years. For instance, if you've chosen a water-based sealer, aim for that 2–3-year mark to maintain maximum protection against stains and weathering. This proactive approach will help defend against fading due to sun exposure while keeping those natural tones intact.
But let’s not forget the battle against nature itself; weeds can be relentless.
To actively minimize weed growth, consider using a weed prevention product or even a natural solution like vinegar. Regularly treating your paved surfaces with these methods will deter those green invaders from taking root between your pavers and causing potential damage over time. Remember that keeping your space tidy encompasses more than just aesthetics; it's about maintaining function and form as well.
A commitment to these long-term strategies will foster an outdoor area that remains inviting and durable while effortlessly transitioning us into discussing professional insights that elevate paver care techniques.
Engaging with professionals can make all the difference when it comes to maintaining the beauty and functionality of your pavers. Experts like those from PHX Paver bring specialized knowledge and access to high-quality materials that you might not find at your local hardware store. By leveraging their expertise, you can ensure that your brick pavers are treated with precisely what they need to withstand the elements.
When you consult professionals, they examine your specific paver surfaces and provide tailored advice based on conditions unique to your area. Whether it's considering local weather patterns or assessing traffic wear, their insights are invaluable. For instance, they understand how sun exposure can lead to fading, prompting suggestions for sealing products that offer UV protection. This foresight helps prolong the life of your pavers while saving you money in the long run.
A tailored maintenance plan is crucial for optimizing the longevity of your pavers. After a thorough inspection, a professional might recommend strategies based on factors such as nearby vegetation and drainage patterns. In areas prone to heavy rainfall, experts often suggest more frequent joint sand applications to prevent washout that could compromise stability. Furthermore, these customized plans help spot issues before they escalate into costly repairs, allowing homeowners to maintain pristine outdoor spaces without breaking the bank.
The quality of materials used during maintenance directly impacts durability and overall appearance. Many homeowners have noted remarkable transformations after hiring services like PHX Paver. As one satisfied customer shared: “After hiring PHX Paver, our patio not only looked brand new but stayed in top condition through multiple seasons.” This testimonial emphasizes that using specialized techniques along with quality sealers ensures homes retain their aesthetic appeal while preventing structural issues.
Prioritizing professional input, customizing maintenance strategies, and utilizing high-grade materials is key to unlocking the full potential of your paver surfaces.
By investing in expert recommendations and quality materials, you can achieve beautiful, lasting results in your outdoor spaces.
PhxPaver.com © 2026 Powered by Pressure Power Pros | Service Areas